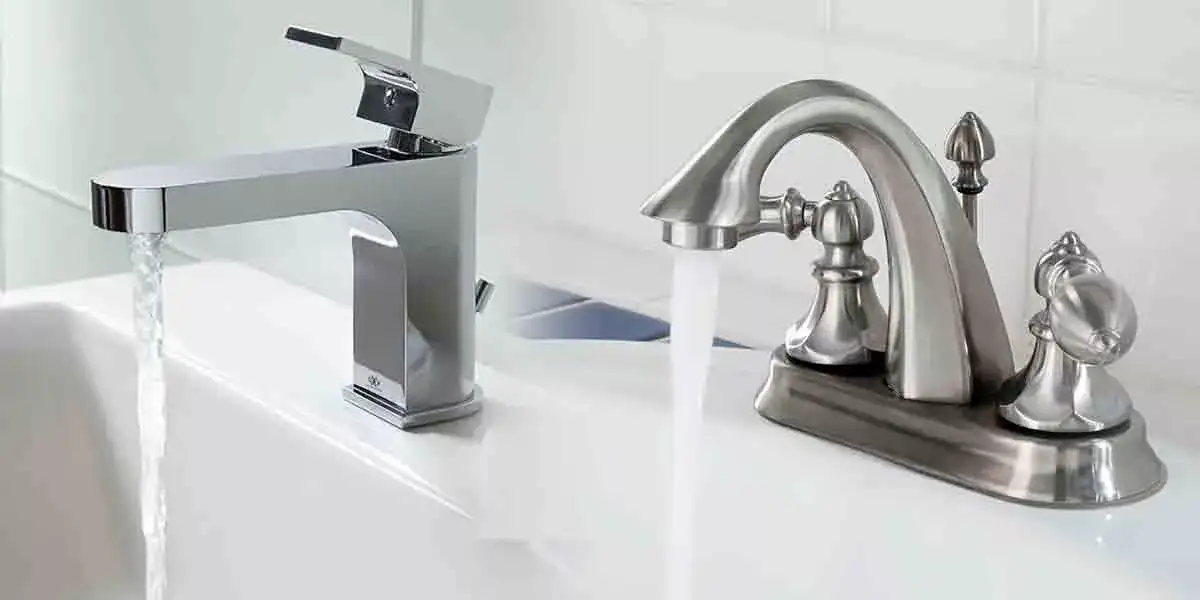
Fixing issues in your Bathroom Sink’s faucet requires the handle to be removed. It can be replacing your current handle with a new one, cleaning from inside, fixing any leakage, or changing inner components, your Sink’s faucet requires to be disassembled.
In the early days, faucets used to come with screws that were easy to remove. But nowadays, you won’t see screws holding the faucet.
Manufactures thought this would give faucets an aesthetic look. And that was true also.
Modern faucets look sleek with no screws popping out.
However, In some cases mentioned above, you’ll need to access screws and remove their handle for whatever reason it applies.
Luckily, this guide gives you a step-by-step walkthrough on how to remove the bathroom sink faucet handle with no screws.
Before Removing Bathroom Sink Faucet Handles
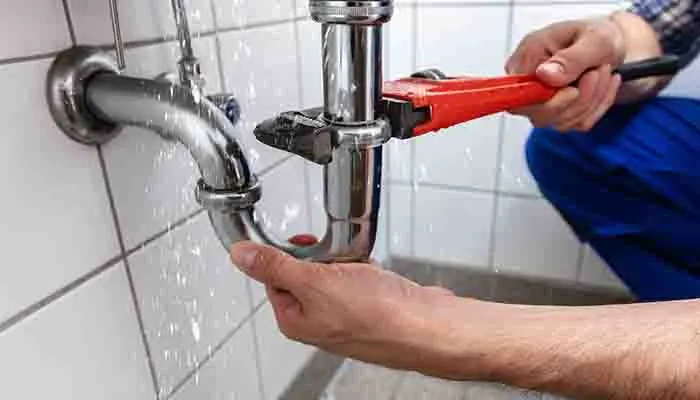
Before making your first move, there are some precautions you need to take, so you can avoid accidents. Being aware will save you from regrating later.
Therefore, it is worth giving it a quick read.
Turn Off Water Line
You might not want water to spill off all over the surface. When working with faucets, it is always recommended to turn off the water supply as this prevents water from flooding out. This can be done by turning off valves located under the sink.
If you find it difficult or impossible to twist the valve, then it means the valve has been rusted or stuck.
You can loosen up by applying the heat of a hairdryer. Still, if it is untwistable, do not apply force as this could break the valve, resulting in shooting out water fountains.
Rather than applying force, it would be a better option to shut off your home’s main water valve that may be located inside the basement or crawlspace where the water line enters the house.
Cover the Drain
This work involves small screws and tools, so try to cover up the sink drain with a cloth and make sure the holes are fully covered. It will keep small screws safe, from falling through the sink drain. You don’t want to grief later, Right?
Check for Corrosion
If you are dealing with an old faucet, then there are chances that the faucet may be suffering from corrosion.
Corrosion occurs when there is a lack of cleaning, either too much or too little.
It makes the metal thin. In such cases, it is advised to be gentle with such faucets because metal swells can break or loosen the bond caused by the corrosion.
Helpful Resource | How to Loosen a Corroded Faucet
Protect Your Faucet
The use of proper tools will prevent your faucet from scratching. For holding on to parts of your faucet, use a spud and strap wrench to avoid damage.
For extra protection, you can use a cloth to cover the finishing, this will ensure not getting any cracks or scratches by mistakenly hitting the sink’s surface.
How to Remove a Bathroom Sink Single Faucet Handle With No Screws
Basic Tools to Keep In Handy: Multi-Hex Wrench Tool, Flathead Screwdrivers, Crescent Wrench, Rags Or Cloth (Covering the sink drain).
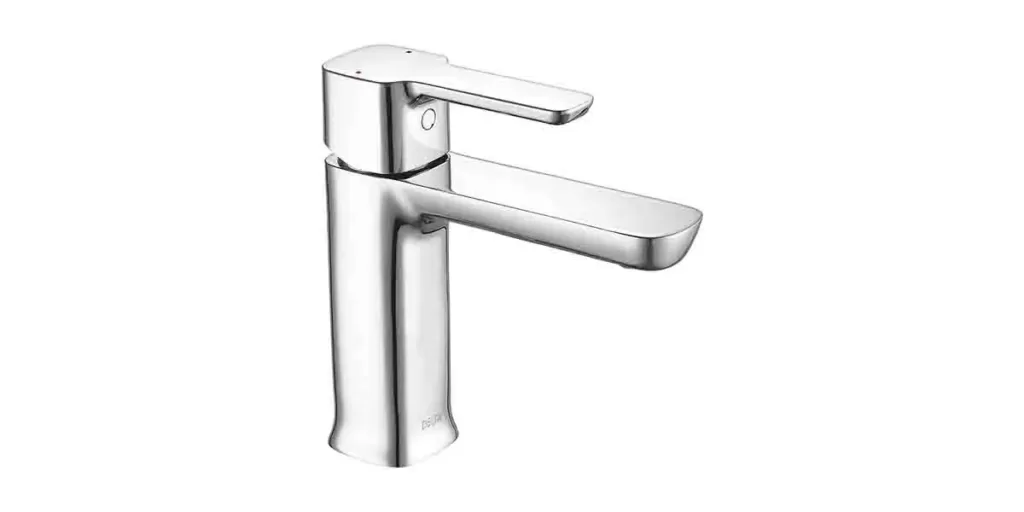
Step 1: Identify the Mount Type
For single-handle faucets, the first step is to identify what type screw mount your faucet is using. Generally, you will find two types – friction fit mounts and capped screw mounts.
Removing faucet handles with a friction fit mount is pretty much straightforward; Gripping the handle firmly and giving it a gentle pull will do the work.
However, removing the faucet handle with a capped screw mount can be tricky. In this type of faucet, screws are hidden below caps or plugs to make the faucet look screwless. If you are dealing with capped screw mounts, follow the next steps shown below.
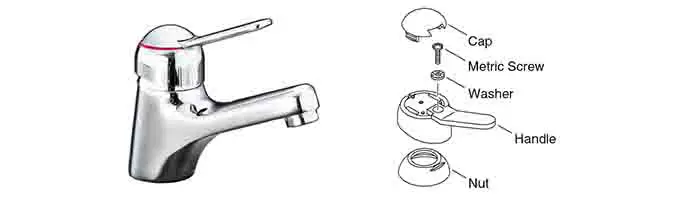
Step 2: Use a Flat Screwdriver to Remove Caps
Next, find a gap in the faucet cap and insert a flat screwdriver inside the gap; work it gently until the cap pops up. Once the cap is out, you’ll find some hidden set screws.
Note – The caps are breakable if not handled with care. Be gentle when removing them.
Step 3: Find & Remove the Hidden Screws
Once the cap is out, you’ll find some hidden set screws. To unscrew, use the wrench that came with the faucet or you can use a multi-hex wrench tool, which helps you to find the right size.
Step 4: Pull Out the Handle (Final Step)
After screws are out, pull out the handle with your plain hand. If stuck, use a plier to grasp parts of your faucet and pull the handle out. As said earlier, try covering the sink and base of your faucet’s handle to avoid unnecessary scratches.
So that’s how you can remove Bathroom sink single faucet handle. Now, let’s move to another type of faucet that has double handles.
How to Remove a Bathroom Sink Double Faucet Handle With No Screws

Basic Tools to Keep In Handy: Multi-Hex Wrench Tool, Flathead Screwdrivers, Crescent Wrench, Rags Or Cloth (Covering the sink drain).
Step 1: Identify the Mount Type
The mount type of your faucet may vary depending on its manufacturer. If you find caps or buttons hiding the screw set, try removing them.
To remove these caps or buttons, find a gap and insert a flat screwdriver inside; work it gently until the cap pops up. Once it’s out, there you see the hidden screws.
Besides, some faucets may have twistable parts, mainly handles or the base of the handle. These twistable parts can also hide screws in them.
Step 2: Twist the Handle or Base
In this step, identify which part of your faucet is twistable.
If your faucet’s handles are twistable, rotate them counterclockwise. Once it comes off, you’ll get access to the screws.
If your handle’s base is twistable, rotate it counterclockwise. Once it comes off, you’ll get access to the screws.
Step 3: Remove Screws
After accessing these screws, remove them using a screwdriver.
Step 4: Pull Out the Cartridge (Final Step)
Finally, remove the cartridge using nosed needle pliers. And it’s done.
So that’s how you can remove the Bathroom sink double faucet handle.
Wrap Up
That’s all about how to remove the bathroom sink faucet handle with no screws. No matter what type of faucet your sink is attached to, you can always figure it out by closely analyzing it.
I am sure you don’t wish to get stuck in the process. So, it is necessary to identify the correct tools required for removing the handle.
If you have any queries, feel free to drop a comment. We are always here to help. 😊
Read More
- Are Bathroom Sink Faucets Universal? (Explained)
- 5 Signs to Tell If A Faucet Cartridge Is Bad (Must-Read!)
- How to Install Moen Widespread Bathroom Faucets