Kitchen or Bathroom structures be it the wall, tiled wall, bathtub corners, etc., are at risk of getting damaged when exposed to moisture or water.
Because Kitchen & Bathrooms are the hotspots for higher moisture levels. And constructing any of these structures is expensive. We mostly choose the best method to protect against elements and prevent further damage.
For that reason, many homeowners prefer silicone to stop water or moisture from getting into structures because it is highly adhesive, water-resistant, and ideal for rooms with higher moisture levels (like kitchens and bathrooms).
Applying silicone is as simple as painting the wall. However, many do it wrong when it comes to smoothing and thus end up messing with their hand, project, and surface.
Well, don’t worry because I’ll take you through the process of how to smooth silicone caulk step-by-step while taking precautions to achieve the best result.
Take A Look: The Dos and Don’ts of Caulking
How to Smooth Silicone Caulk (A Step By Step Approach)
Things You’ll Need
1. Silicone Caulking
2. Caulk gun
3. Rubbing alcohol
4. ¼ inch masking tape
5. Retractable razor blade scrape
6. Caulk removal tool
7. Hand gloves (optional)
8. Vacuum
9. Damp cotton/linen rags
10. Spray bottle
Step 1: Choose Ideal Silicone Caulk & Caulking Gun for the Project
Silicone Caulk
I strongly advise you to use the pure silicone caulk that would be effective based on the project/surface you are working on.
Gorilla White Pure Silicone Caulk is best to caulk areas of high moisture situations like bathtubs/showers and washrooms. However, 100% pure silicone caulk is effective and expensive.
Caulking Gun
When it comes to a caulking gun, choose a caulk gun that features ratchet action with a hook and a longer tube poker.
Avoid caulk gun that comes with friction action with shorter tube poker. Or you may opt for a Dripless caulk gun which is also the best option and used by professionals. Also, make sure when choosing silicone caulk, it provides a 7-10 year guarantee against mildew.
Step 2: Remove Old Caulk and Vacuum the Surface
It is essential to prepare the surface you intend to seal by removing the old caulk and cleaning the surface to reveal the caulking joints.
Use a retractable razor blade scraper to remove the old caulk from the surface. When you are done, vacuum the surface to remove all the debris in the joints and the latter surface.
For ceramic or porcelain surfaces, it is advisable to polish and dry the surface for the new caulk to work effectively. Generally, ensure the surface is clean, moist-free, and completely dry because moist and dirty prevent a secure bond with the seams.
Step 3: Tape the Surface
Mask off the edges of both surfaces you want the caulk bead to stop or not smear using 1/4 inch masking tape.
While masking the surface the tape should run straight and long without fault to create a fairly thin and sharp caulking joint finishing. Also, make sure you have to firmly tape in the inner edges of the tape with your fingernail for the caulk not to seep beneath it.
Step 4: Cut the Tip of the Caulking Tube
When cutting caulking tube, it is best to cut its tip using a utility knife and shouldn’t be no more than 1/16” rather cutting the tip at an angled position.
Cutting the tip at an angled position limits the position the caulking gun has to be in and the bigger the seam/hole the more difficult it is to achieve a smooth finish.
While cutting a straight tip allows the caulking gun to swivel caulk through and right up inside any obstacles, corners, and thin seams. If you are dealing with large gaps then cutting the tip of the nozzle farther down at a 45-degree angle to produce a wider bead for larger gaps.
Step 5: Apply the Silicone Caulk at Consistent Speed
Before you start to apply the caulk, first, fill rubbing alcohol into the spray bottle. Then apply the caulk into the joint while squeezing it hard enough into the gap using a caulking gun rather than dragging it over the gap/joint.
It is significant to push the caulk into the gap because it forces the caulk into the gap and thus, increasing the probability of the caulk adhering to the joints.
You are only allowed to drag it over the gap if both surfaces are flush, but avoid pushing the tip too hard while applying to avoid messing with your fingers.
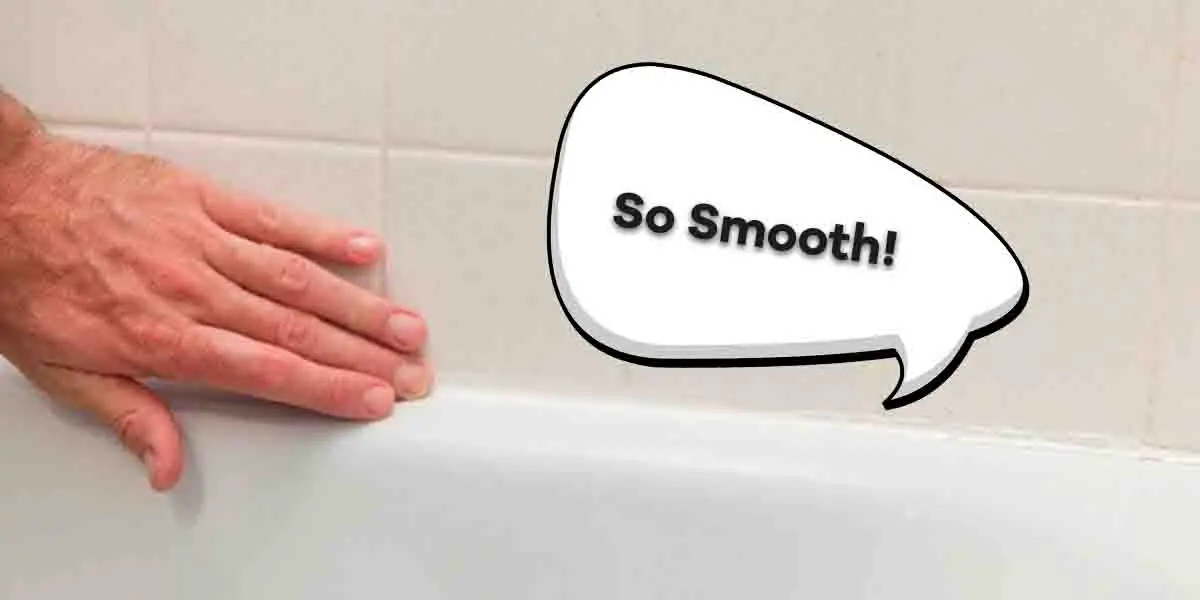
Step 6: Smooth the Gap/Joint/Seams while Working In Sections
Spray the rubbing alcohol on your finger and cotton rag to wet them.
The purpose of using rubbing alcohol is to as a thinning and lubricating agent for you to smooth the gap/joint or seam.
Use your index finger to smooth the bead of caulking before the alcohol evaporates, but make sure you apply light pressure from one end to the other.
Remove excess caulk on your fingers by wiping it off with a dampened cotton rag and continue with the smoothing process until you finish. Then inspect the joints if are bumpy or gaps left behind. If you find any apply or remove excess caulk and smooth it out.
If you want to proceed faster and achieve the best result, it is advisable to work in sections rather than applying caulk on the whole section and smooth the caulk at once.
Step 7: Remove the Tape & Allow the Caulk to Cure
Immediately you have finished smoothing the caulk, remove the masking tape slowly while pulling it away at an angle from the joint, but not towards the joint.
That’s because pulling towards the joint can remove wet caulk and smear on the surface.
Therefore, you should extremely careful. When you are done, let the wet caulk cure fully according to the manufacturer’s dry time before painting or getting the surface wet.
If you were disguising caulk on a concrete surface, you should dust the caulk with dry concrete mix while it’s still wet.
When the curing period is over brush away the excess, and the caulk will virtually disappear.
FAQs: How to Smooth Silicone Caulk
Can I Use Rubbing Alcohol to Smooth Silicone Caulk?
Yes. Rubbing alcohol works effectively in smoothing 100% silicone caulk evenly despite it being highly adhesive and hard to spread out. That’s because rubbing alcohol is both a lubricating and thinning agent that interacts well with silicone without interfering with the smoothing process.
Can I Use Windex to Smooth Silicone Caulk?
Yes. Windex is a less expensive alternative than using rubbing alcohol. Simply wet your index finger with Windex and run it over the caulk to smooth out or wet the area with Windex and smooth out with use the corner of an old credit or gift card. To remove caulk on your fingers, wet the cotton or any rag with Windex and use it to wipe it clean.
Wrap Up
I highly recommend following the above process to achieve smoothness and prevent future damage to your caulking when using silicone caulk. Smoothing silicone caulk after application maximizes its effectiveness in stopping moisture and water from seeping into joints.
Read More On Caulking
- 6 Alternatives to Caulking Around the Bathtub (Must-Try!)
- 5 Tips On How to Make Caulk Dry Faster (Silicone, Latex & Polyurethane)
- How to Caulk A Large Gap In Bathtubs? (Step By Step Guide)