Many times when replacing your bathroom fixtures, you might find them difficult to remove. Usually, this happens with threaded fixtures such as shower arms, showerheads, or faucets. But, did you know, Why fixtures like Shower arms get stuck?
Shower arms get stuck due to the mineral deposits that build over time reduces the efficiency. In addition, rusting of threads could be another reason for getting your shower arm stuck.
The most common mistake people do by applying brute force and wiggling the arm towards incorrect directions. As a result, this damages the soldered connection inside or tears the elbow mounted on the wall.
If you get any leak inside the wall, then get ready to spend thousands of dollars on its repair.
In this guide, you will get step-by-step instructions on how you can remove a stuck shower arm without causing any damages.
But before that let’s see what precaution you need to take.
Turn Off Water Supply At Your Home
To prevent yourself from getting drenched, you will need to turn off the water supply at your home. Normally, the main valve can be located inside the basement or crawlspace where the water line enters the home.
You can also look near the water heater, garage, or mechanical room.
In some cases, the valve can be located outside near the curb or sidewalk at the front of the property, covered and buried under the ground (known as water meter box), but accessible.
If you are still unable to locate, call a local plumber for help.
Once you’ve found the main valve, you either want to use your hand or appropriate tools, depending on what kind of valve is in your home.
If the located valve is present inside your home, turn the valve clockwise to shut the water flow. However, if it’s in a water meter box outside, turn the valve clockwise using a meter key, screwdriver, or crescent wrench.
What does Shower Arms Screw Into?
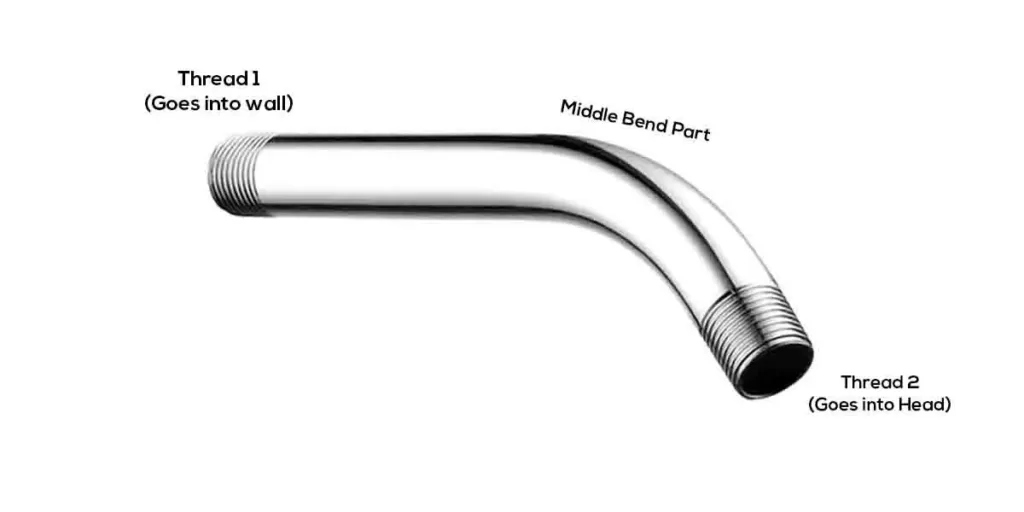
When taking a closer look at the shower arm, you will find it has two threads in both ends – one end goes into the wall fitting, known as drop ear elbow, and another end for the showerhead. The middle part is slightly bent so that water can flow in the correct direction.
Before removing the shower arm, first, disassemble the showerhead. Take a wrench, grab the head’s flat spot from its back, and loosen it by rotating counterclockwise. If it’s an old one, give a vinegar bath and leave it for 24 hours to soak, then try rotating it with a wrench.
How to Remove A Stuck Shower Arm? (Only 3 Steps)
Step 1: Remove Rusting
Before you begin, peel back the flange and check for rust. Rusting of joint connection is one of the reasons you find your shower arm getting stuck. That’s what should be fixed first. u003cbru003eu003cbru003eTo remove rusts, you can use any u003ca href=u0022https://www.amazon.com/Blaster-16-PB-Penetrating-Catalyst-11-Ounces/dp/B000I2079E?crid=1MLR6YWA3J9RZu0026amp;dchild=1u0026amp;keywords=pb+blaster+rust+removeru0026amp;qid=1628871038u0026amp;sprefix=pb+blaster+r%2Caps%2C428u0026amp;sr=8-1u0026amp;linkCode=ll1u0026amp;tag=fixnclean-20u0026amp;linkId=9e44641cbb5ea0dedb025fade2e5ddf0u0026amp;language=en_USu0026amp;ref_=as_li_ss_tlu0022 target=u0022_blanku0022 rel=u0022noreferrer noopener nofollowu0022u003erust remover with penetrating lubricants such as PB blasteru003c/au003e, which helps you loosen rusty material if you see any rust.u003cbru003eu003cbru003eSpray on the joint connection of the shower arm which is getting stuck. Leave for 10 minutes to soak.
Step 2: Insert Screwdriver
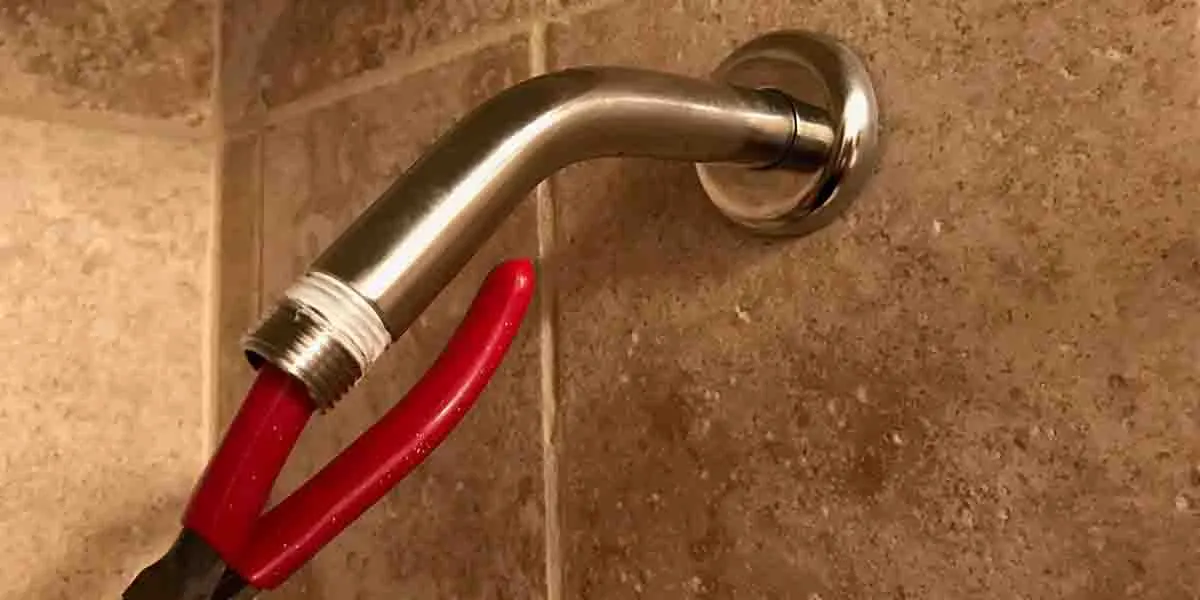
After removing the shower head, you will be left with a front hole. Insert a u003ca href=u0022https://www.amazon.com/gp/product/B0038G3RCQ?ie=UTF8u0026amp;linkCode=ll1u0026amp;tag=fixnclean-20u0026amp;linkId=15d8a3098a468e77feeeed5e752c0e44u0026amp;language=en_USu0026amp;ref_=as_li_ss_tlu0022 target=u0022_blanku0022 rel=u0022noreferrer noopener nofollowu0022u003eone-stop wrenchu003c/au003e or screwdriver into the hole as longer-distance as possible. And hold the arm’s center part steady with a u003ca href=u0022https://www.amazon.com/gp/product/B00S6L8GIS?ie=UTF8u0026amp;linkCode=ll1u0026amp;tag=fixnclean-20u0026amp;linkId=e7021f3b60c756c88a87b1286a12bacbu0026amp;language=en_USu0026amp;ref_=as_li_ss_tlu0022 target=u0022_blanku0022 rel=u0022noreferrer noopener nofollowu0022u003eself-adjusting plieru003c/au003e.
Step 3: Loosen the Arm
Holding shower arm steady, slowly do a rotational movement by pushing both screwdriver and u003ca href=u0022https://www.amazon.com/gp/product/B00S6L8GIS?ie=UTF8u0026amp;linkCode=ll1u0026amp;tag=fixnclean-20u0026amp;linkId=e7021f3b60c756c88a87b1286a12bacbu0026amp;language=en_USu0026amp;ref_=as_li_ss_tlu0022 target=u0022_blanku0022 rel=u0022noreferrer noopener nofollowu0022u003eplieru003c/au003e counterclockwise. u003cbru003eu003cbru003eDo this multiple times. Then, you will find the stuck shower arm getting looser.u003cbru003eu003cbru003eFinally, pull out the shower arm, and it’s done.
Are all Shower Arms Removable?
You will never see a shower arm that’s not removable. Typically, shower arms have screws and threads in both ends; they can be easily unscrewed with a suitable method. However, there may be some cases where shower arms are soldered onto the supply line. But that’s rare as it’s against the code in some countries like the United States.
Wrap Up
In the end, I will only advise you to be gentle and take safety precautions by turning off the water supply valve.
If you find rusty solder connections, treat them with any rust remover available. I recommend using PB blaster, which comes with penetrating lubricants, helping to loosen the joints.
If you face any sort of problem or have any query, leave a comment, and I will get back within 24 hours.