Moen offers a line of bath accessories that helps to create a perfect bath space. One of such accessories is the toilet paper holder.
It seems you are looking to remove the holder out from the wall. Well, that isn’t questionable. Probably the holder is broken, or you want to replace it with a new one.
Whatever the reason is, I got your back.
Generally, you’ll get to see four types of wall-mount toilet paper holders – Pivot, Single Post, Spring-loaded, and Double Post. Each holder has a Mounting Style, which decides the removal process of your holder.
Therefore, it’s necessary to identify the mounting style first as it helps you with the removal process. Let’s discuss what types of mounting styles are available for Moen’s toilet paper holder and how to identify which mount style you own.
Moen Holder’s Mounting Styles
There are four types of Mounting Styles for a Moen bathroom accessory (including toilet paper holder) – Set Screw, EZ 2 Install, Pro-Fit, and Securemount.
Each mount style differs from one another; some use screws while others don’t. This makes the disassembly process different for each style.

| Mounting Style | How it’s Mounted? |
| Set Screw | The base of the post[s] holds a set of screws. |
| EZ 2 Install | The base of the post[s] has an opening with a tab located in it. |
| Pro-Fit | The base of the post[s] has an opening but no screws or tabs. |
| Secure mount | The base of the post[s] has an opening with a small tab in it. |
How to Remove A Moen Toilet Paper Holder from Wall
Once you’re ready with the required tools, it’s time to start the removal process.
Step 1: Prepare for the Removal
First, Gather all the necessary tools mentioned above. Then, remove the toilet paper roll as well as the bar that holds the paper.
Step 2: Identify Holder’s Mounting Style
Take a close look at your toilet paper holder and check the post[s] opening located at the base. If not visible, Use a flashlight to get a better look.
- If the post[s] holds a set of screws, then it is using Set Screw mounting.
- If the post[s] hold tabs, then it is using EZ 2 Install mounting.
- If the post[s] got an opening but no screws in it, then it is using Pro-fit mounting.
- If the post[s] hold a small tab, then it is using Securemount mounting.
As said earlier, make sure to identify your Holder’s Mounting Style properly as the disassembly process depends on it.
Step 3: Remove the Holder
In this step, you’ll be working to remove the holder. Keep in mind that according to your holder’s mounting style, you have to execute the removal.
For removing screws, keep an Allen wrench, a Phillips screwdriver, and a flat-head screwdriver handy. And use them looking at your screw head type.
Here’s a tip, Use a flashlight to check what type of screws your toilet paper holder is using.
Once you’ve identified the mounting style and screw types, you can begin with the removal process. Here’s what you need to do:
Set Screw Mounting
Take an Allen Wrench, loosen the Allen screws present at the base of the post. If your toilet paper holder uses two posts, you’ll need to remove the screw from both. Once removed, gently lift the holder off from the wall.
EZ 2 Install Mounting
Insert a flathead screwdriver into the base’s opening. The opening of the base consists of tabs located in it that need to be removed. Pull the screwdriver away from the wall to depress the tab. This will release the holder so that you can get it off from the mounting bracket and wall.
Pro-Fit Mounting
You’ll notice a small square opening at the base of the post. Insert a small flathead screwdriver, push it upwards while pulling the post forward to remove the holder off from the wall.
Securemount Mounting
Here the screws are hidden behind a shield. Slide the shield away from the wall to reveal the screws. Then, use a Phillips screwdriver to unscrew all screws from the bracket. Once done, pull the holder away from the wall.
By this, You’ve successfully removed your Moen Toilet Paper Holder. If you’re planning to install or replace it with a new one, there are things to consider.
Step 4: Get Your New Holder (If Planning to)
Note that your brand-new fitting must be of the same dimensions to fit into the existing installation point. Otherwise, you’ll have to introduce a new installation point on the wall.
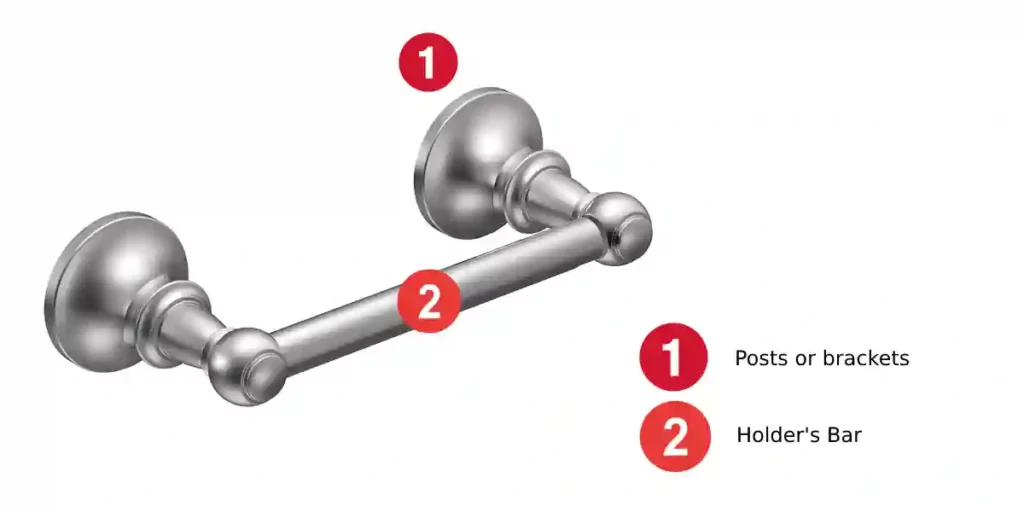
Usually, the fittings come with an installation template. Take the help of that template to figure out where to attach the post[s] (also known as brackets) on your wall.
Step 5: Assemble Your New Toilet Paper Holder
Hold the template steady against the wall.
Now, use a pencil to mark the points where post[s] will go. Also, mark the exact screw locations. These marks ensure the correct drilling point so that you won’t face any alignment issues during the final setup. Once you mark the points, Drill the holes and attach wall anchors. Anchors will ensure the stability of the post[s]. Finally, position and screw the post[s] on the wall.
As the posts are ready, attach the holder’s bar and add your toilet paper.
That’s all, you’re ready to go.
See Also: How to Install a Toilet Paper Holder (Full Guide)
FAQs: How to Remove Moen Toilet Paper Holder
How Do You Remove A Toilet Paper Holder without Screws?
If you’re unable to locate screws on your toilet paper holder, then it’s mounted with Pro-fit mounting style. To remove, Insert a small flathead screwdriver into its opening, push it upwards while pulling the post forward, which will release the top of the holder from the post. Finally, slide the holder downwards to remove it off from the wall.
How Do You Remove A Moen Pivoting Toilet Paper Holder?
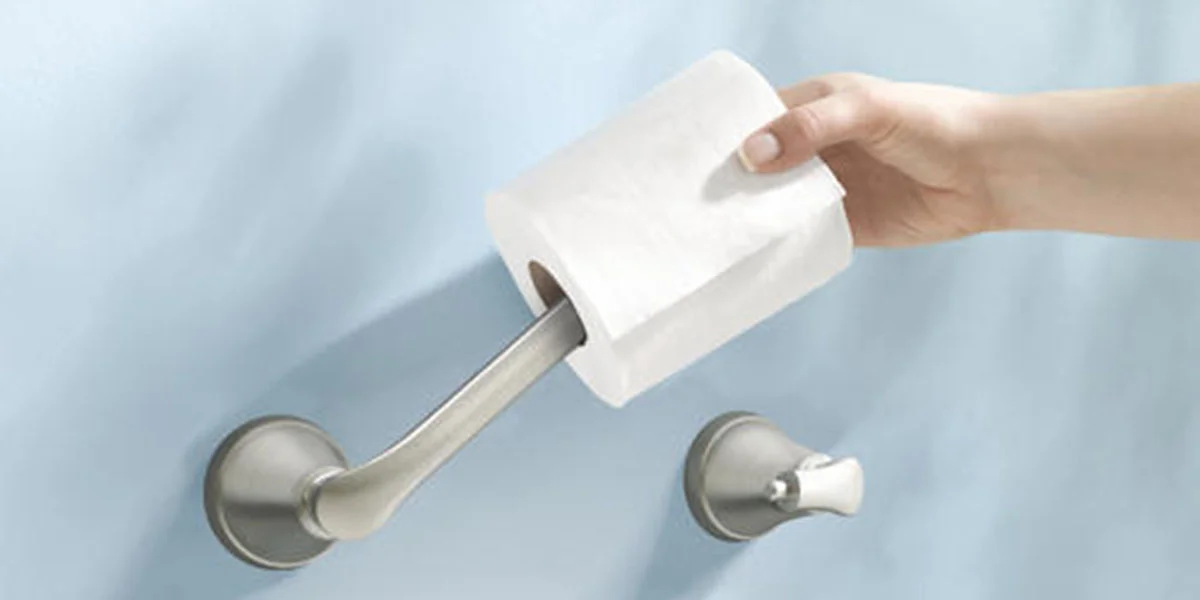
Moen’s pivoting toilet paper holder is one of the types of wall-mount holders with a lift u0026amp; load design. Removing a u003cstrongu003eu003cemu003ePivot Toilet Paper Holderu003c/emu003eu003c/strongu003e requires you to insert a flathead screwdriver into the base’s opening, pull the screwdriver opposite from the wall to grab the tab inside. Finally, pull the holder off the wall to get it removed.
How Do You Remove Toilet Paper Holder with Hidden Screws?
Some manufactures keep the screws hidden to maintain the aesthetics of their u003ca href=u0022https://fixncleanwizard.com/remove-bathroom-light-fixture-without-screws/u0022 target=u0022_blanku0022 rel=u0022noreferrer noopeneru0022u003efixtureu003c/au003e. Commonly, these screws are secured behind a cap so try to locate these caps and remove them to make the screws visible.
Read More


