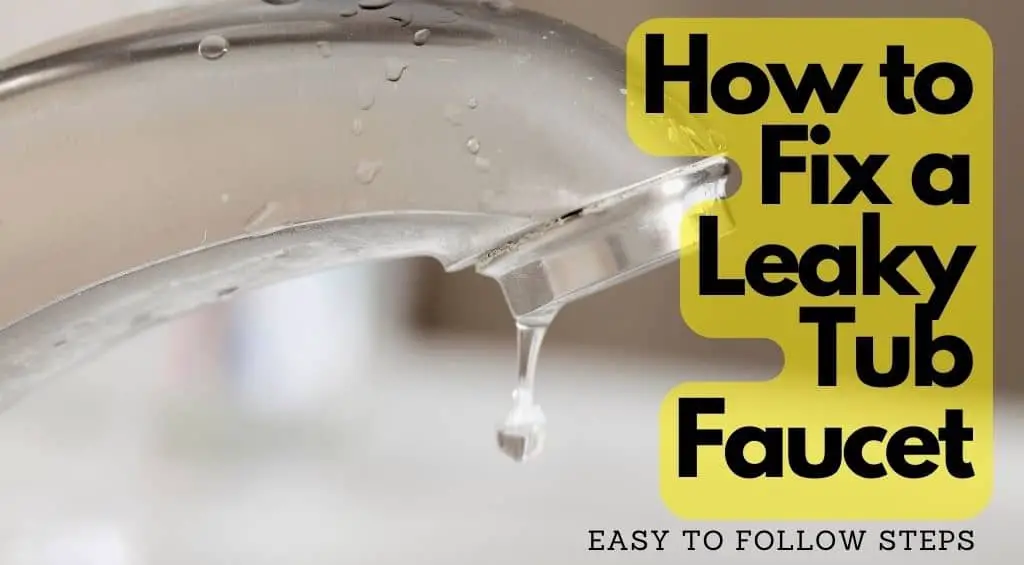
Do you have an annoying drip-drip sound coming from your bathtub faucet? Its not just irritating; it’s also wasteful and can cause damage to your bathroom if left unattended. We’ve all been there, and there is a solution within reach! By following our simple guide on how to fix a leaky bathtub faucet, you’ll be able to repair it yourself and tackle this common bathroom issue.
Fixing your leaking bathtub faucet doesn’t take an expert plumber to get the job done. With some basic tools and a little bit of patience, you too can become part of the DIY community who’ve taken matters into their own hands – literally! So let’s roll up our sleeves and dive into this step-by-step guide on how to repair your dripping faucet, saving water, money, and earning some serious bragging rights among your friends and family.
Type of Faucet
When dealing with a leaking bathtub faucet, it’s key to first identify the type of faucet you have. Understanding your faucet type will help guide you in fixing the problem more efficiently and effectively.
Single-Handle

These are quite common types of bathtub faucets, easy to use and modern looking. A single-handle faucet issue may be annoying, but with your DIY prowess, you’ll conquer it in no time. Fixing it can not only save you money on your water bill but also prevent any unnecessary damage to your bathroom.
In most cases, the problem lies within the faucet cartridge, which controls the flow of water and temperature in your single-handle bathtub. Don’t worry; we’re here to guide you through this leaking faucet repair process.
Two-Handle

Dealing with a two-handle faucet issue is not as daunting as it may appear. As part of our growing community tackling home repairs together, we’re here to guide you through the process so that you can confidently repair a leaky bathtub faucet and take pride in your DIY abilities.
Identifying the Leak
It’s essential to pinpoint the source of that pesky drip before you can put a stop to it. Identifying the cause of your leak is crucial in determining how to fix a leaky faucet and save both water and money.
To do so, start by examining your dripping tub faucet closely, paying attention to whether water seems to be coming from the faucet stem or the tub spout. Knowing which part of your bathtub faucets is leaking will help you determine what needs fixing.
Now, take a closer look at the type of faucet you have installed in your bathtub. There are different types of bathtub faucets, such as compression, cartridge, ceramic disk, and ball-type faucets – each with their distinct mechanisms and potential causes for leaks. Here’s a great video to watch:
Familiarizing yourself with your specific faucet type will not only make it easier to diagnose any issues but also give you a sense of belonging among other homeowners who’ve successfully tackled similar problems.
Once you’ve successfully identified where the leak originates and recognized the type of faucet in use, it’s time to gather all necessary tools and replacement parts before diving into fixing that troublesome drip.
Remember that taking this initial step seriously will save you time and effort in the long run while providing peace of mind knowing that you’re properly addressing the issue at hand. So go ahead – grab those tools confidently and prepare yourself for victory over that annoying dripping bathtub faucet!
Removing the Spout
Before you begin to fix a leaking bathtub faucet, it’s important to shut off the water supply to prevent any further damage or issues.
Shut Off Water Supply
Time to channel your inner plumber and cut off the water supply! Before you can tackle fixing that leaking bathtub faucet, it’s essential to shut off the water supply.
You don’t want to deal with an unexpected geyser of water or a sudden increase in your water bill while you’re working on the problem. To do this, locate your home’s main water valve – it’s typically found near where the main water line enters your house or in a utility room.
Turn the water valve clockwise until it’s completely closed; this will control the water flow throughout your entire home.
Now that you’ve successfully shut off the water supply, give yourself a pat on the back – you’re one step closer to fixing that pesky dripping faucet! With no more unwanted surprises from uncontrolled water flow, you can now focus on addressing and repairing your leaking bathtub faucet confidently.
Remember, we’re all in this together as we embark on tackling common household issues like these; there are countless others out there also working through their own plumbing challenges right alongside you. So keep going strong and know that each step brings us closer to victory over our shared nemesis: leaky faucets!
Remove the Spout
Now that the water’s off, let’s move on to removing the spout from your tub – it’s a crucial step in getting to the root of that pesky drip. Don’t worry; you’re not alone in this quest to fix a leaky faucet.
Many homeowners have faced this common bathroom nuisance, and together, we can tackle this tub faucet issue like pros. First, grab a wrench to remove the spout – you’ll need it to loosen any screws or connections holding the old fixture in place. Be sure to protect your bathroom fixtures with a cloth or towel while using tools, as this will prevent any scratches or damages.
As you carefully remove the spout from your bathtub, remember that we’re all part of a bigger community striving for self-sufficiency and home improvement skills. It feels good knowing you’re taking control of your living space by fixing that annoying faucet leak yourself!
Once you’ve removed the old spout from your bathroom faucet, get ready for some investigation work – finding out what caused that persistent dripping sound will help ensure it doesn’t happen again.
So go forth and conquer those leaks with confidence; we believe in you!
Gathering Materials
Did you know that a dripping tap can waste over 3,000 gallons of water per year? To prevent this wastage, it’s essential to gather the right materials for repairing your bathroom fixture.
You’ll soon learn how to fix a leaking bathtub faucet like a pro, and be part of the savvy homeowner community who saves both water and money on unnecessary repairs. But first things first – let’s make sure you’ve got everything you need for this DIY project.
For a two-handle faucet repair, you’ll require an adjustable wrench, screwdriver, pliers, seat wrench, replacement parts (like washers or O-rings), plumber’s tape or thread sealant, and possibly a new cartridge if needed.
On the other hand, if you’re dealing with a single-handle bathtub faucet issue, you may need extra tools such as Allen wrenches and cartridge pullers to remove and replace the faulty component.
Before starting any work on your faucet though, don’t forget to shut off the main water supply by turning off your home’s main water valve or the local water supply valve found underneath your bathroom sink.
Now that you have all your tools and materials ready to go, it’s time to dive into fixing that pesky leak! Remember: when working with plumbing fixtures in your home, patience is key – take each step slowly and methodically to avoid causing further damage.
By successfully repairing your leaking bathtub faucet yourself using these gathered materials (and some good old-fashioned dedication), not only will you save thousands of gallons of precious water but also enjoy that satisfying sense of accomplishment from having completed another home improvement task.
So roll up those sleeves and get ready to join our proud league of DIY heroes!
Disassembling the Faucet
Before diving into the disassembly process, it’s important to identify whether you have a single-handle stem or a two-handle stem faucet. Knowing the type of faucet you’re dealing with will help you better understand the steps and tools required for fixing that pesky leak.
Once you’ve determined if your bathtub faucet is single- or double-handled, we can delve deeper into disassembling and troubleshooting each specific design.
Single-Handle Stem
You’ve got a single-handle stem situation on your hands, and we’re here to help you tackle it with ease. Fixing a leaking bathtub faucet with a single-handle stem might seem intimidating at first, but once you get the hang of it, you’ll be able to resolve the issue like a pro.
Before diving in, make sure you turn off the water supply to your shower valve to avoid any surprises. It’s also helpful to know your faucet model or take a picture of it so that you can easily purchase replacement parts if needed.
Start by removing the handle that controls both hot and cold water flow. Depending on your faucet model, this may require an Allen wrench or screwdriver.
Once the handle is removed, use a wrench to unscrew and remove the single-handle stem from its housing.
Look for any signs of wear or damage on the stem; these could be causing your leak. If necessary, replace it with an identical part from your local hardware store.
By following these steps carefully and patiently, you’ll be well on your way to fixing that pesky leaking bathtub faucet! Plus, think about how impressed everyone will be when they hear how handy you are around the house – there’s nothing quite like belonging to that exclusive club of DIY masters!
So go ahead and embrace this challenge; not only will you save money by doing it yourself, but you’ll also gain some serious bragging rights among friends and family members!
Two-Handle Stems
Now that we’ve tackled the single-handle stem, let’s move on to the two-handle stems, which can be as easy as pie to repair once you get into the groove of things.
We’re all in this together, and it’s time for us to dive into fixing that pesky leaking bathtub faucet so you can enjoy a peaceful soak without any unwanted drips.
First things first, grab your tools and remove the handle from your two-handle stems by loosening the screw located at the base of the faucet or under a decorative cap. Doing this will expose the stem or cartridge, which is where our focus lies.
With determination and confidence, unscrew and remove the stem or cartridge from its position within your faucet assembly.
Inspect it for any signs of wear or damage – this could be contributing to that annoying leak!
Next up is checking out that seat washer; if it appears worn down or damaged, replace it with a new one like a pro.
However, if both elements look beyond salvation (we know you did your best), then consider opting to replace the entire unit with fresh parts.
Reassemble everything back in place and give yourself a pat on the back – you just successfully fixed a leaking bathtub faucet with two-handle stems!
Welcome to our home improvement crew; we’re glad to have you onboard!
Repairing the Leak
It’s essential to address the issue promptly, as a dripping faucet can waste water and potentially cause damage to your bathroom surfaces. Repairing the leak can seem intimidating at first, but with a few helpful tips and some basic tools, you’ll be able to fix a leaking bathtub faucet on your own. Plus, fixing the issue yourself not only saves money but also gives you a sense of accomplishment and belonging among other DIY enthusiasts.
To repair the leak in your bathtub faucet, follow these steps:
- Turn off the water supply to prevent any accidents while working.
- Remove the handles or knobs from both hot and cold valves.
- Identify which valve is causing the leak by looking for signs of moisture or corrosion inside.
Once you’ve determined which valve is responsible for the leaking water, carefully disassemble it by unscrewing any retaining nuts or screws holding it together. Then remove the cartridge from inside the faucet – this is likely where the problem lies. Inspect it for damage and determine whether an easy fix like cleaning or replacing worn-out parts will solve your issue or if you’ll need to replace it entirely.
After repairing or replacing any problematic parts inside your bathtub faucet, reassemble everything in reverse order, ensuring that all seals are properly seated and tightened securely to prevent future leaks.
With these simple steps completed, you should now have successfully stopped your leaking bathtub faucet – pat yourself on the back for taking matters into your own hands! Now go ahead and share this newfound knowledge with others who might be facing similar issues – after all, there’s nothing better than sharing practical tips that help foster a sense of camaraderie within our community of handy folks!
Re-assembly of the Faucet
With the pesky leak conquered, let’s piece your trusty faucet back together like a satisfying jigsaw puzzle.
The re-assembly of the faucet is an important step to fix a leaking bathtub faucet, and it’s not as difficult as it may seem.
Start by inserting the new seat into the valve with a seat wrench or pliers, making sure it’s snugly in place.
Next, slide on the new packing washer onto the valve stem and screw it in securely. Remember to remove any sealant residue from both inside of the faucet and around its exterior before continuing.
Now that you’ve got all your shiny new parts in place, carefully insert the valve stem assembly back into its designated spot inside of the faucet.
Tighten up that retaining nut for good measure; we wouldn’t want anything coming loose now would we?
It’s time to put your handle back onto its rightful throne – simply align it correctly with the valve stem and secure it with its respective screw.
Give yourself a pat on the back because you’re almost done!
As you admire your handiwork, take note of how smoothly everything fits together – just like pieces of a well-designed puzzle!
With your newly fixed bathtub faucet no longer dripping away precious water resources (and money), not only have you accomplished something great for yourself but also for our lovely planet Earth.
So go ahead: draw yourself a celebratory bath or indulge in an extra-long shower – you’ve earned it!
And remember this feeling of accomplishment next time something needs fixing around your home because chances are, you can do that too!
Conclusion
As you stand back and admire your newly repaired bathtub faucet, the sound of silence is music to your ears.
The relentless drip has been conquered, and your bathroom oasis is restored.
Imagine sinking into a warm, relaxing bath without the constant reminder of that pesky leak.
With confidence in your newfound plumbing skills, you can now enjoy a truly peaceful soak knowing that you’ve triumphed over the dripping menace.